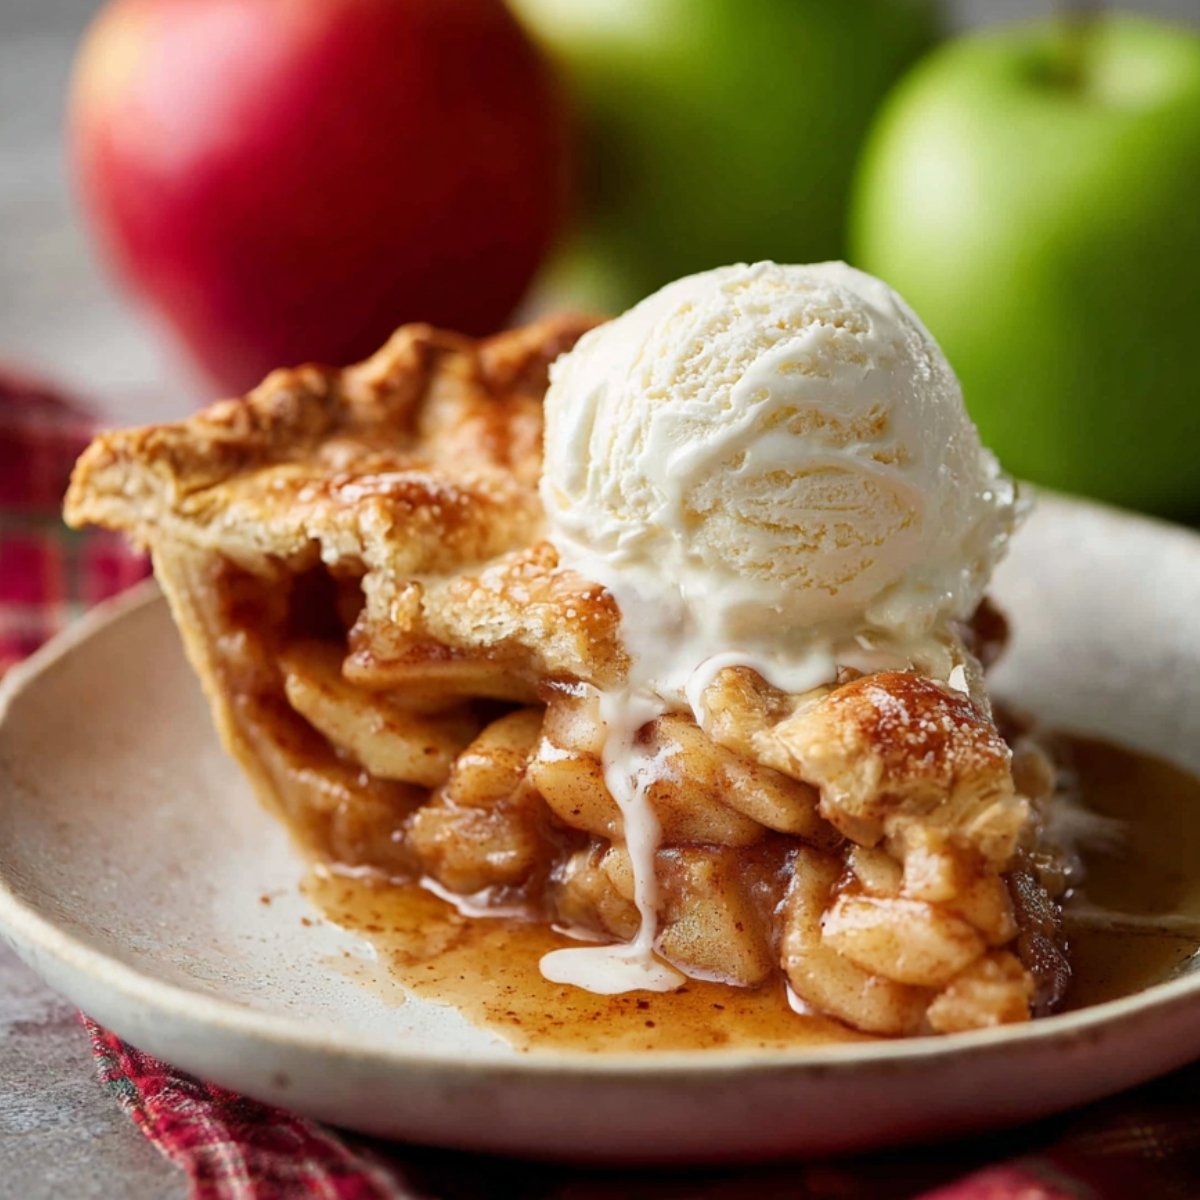
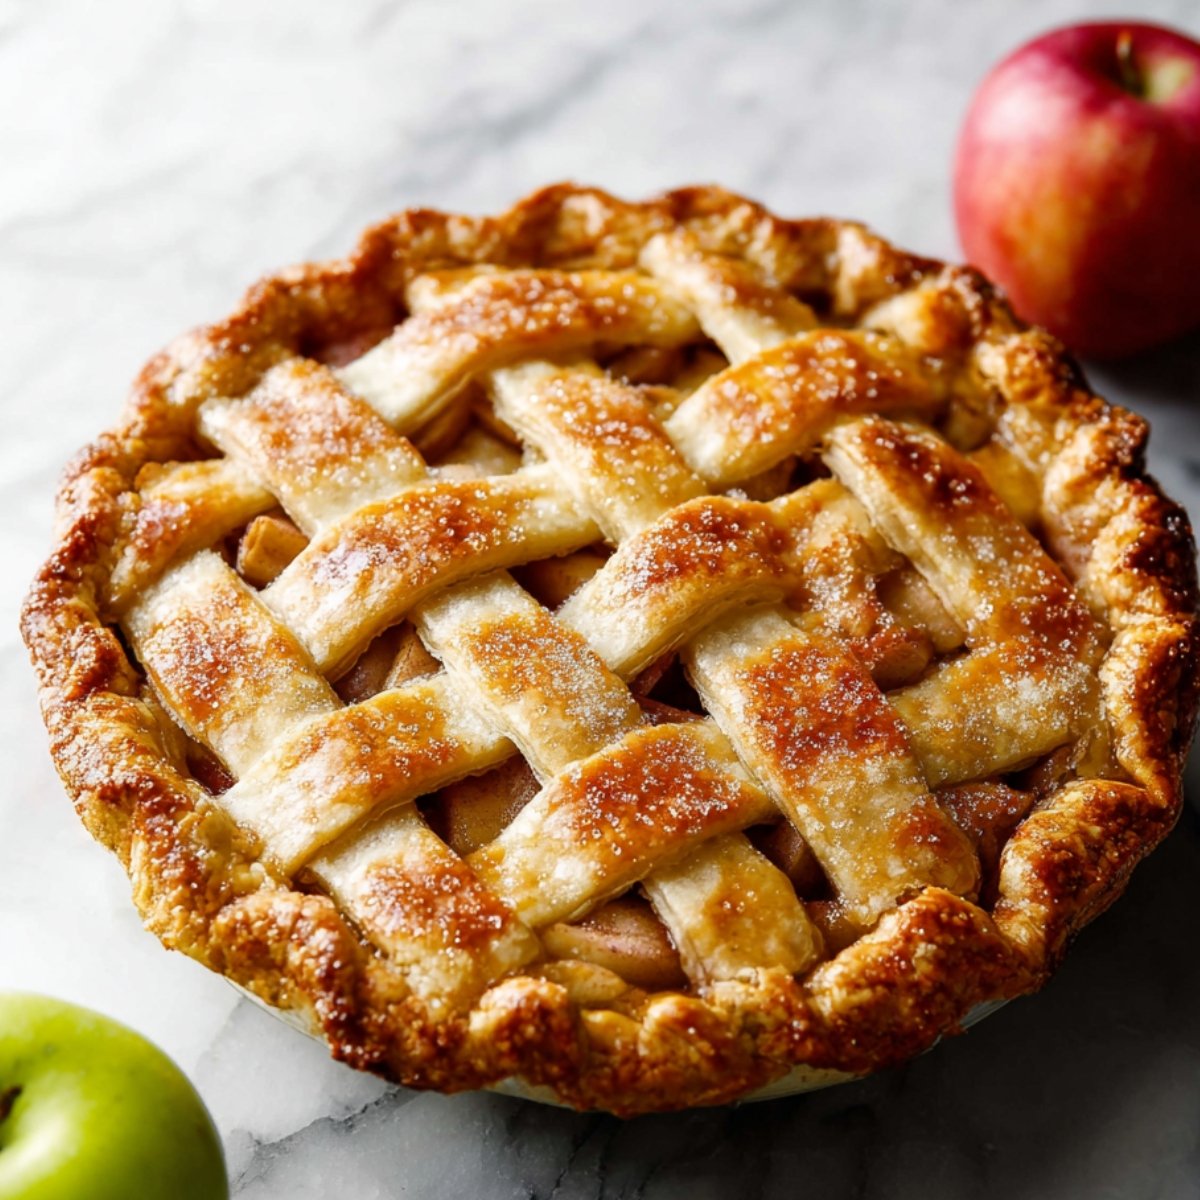
This homemade apple pie recipe brings together a buttery, flaky crust and a mountain of warm cinnamon-spiced apples that practically melt on your tongue. I still remember the first time I made this pie for Thanksgiving—the smell of baked apples and butter filled my entire house, and my neighbor Sophia knocked on the door just to ask what I was baking. A quick 5-minute pre-cook makes the filling extra juicy and rich, so you get bakery-style results right in your own kitchen.
If you love cozy desserts that bring everyone to the table, you'll also want to try my Chewy Chocolate Chip Cookies for an easy weeknight treat, or go all out with Creme Brulee Cheesecake Cupcakes when you're feeling fancy.
Why You'll Love This Apple Pie
Perfect texture every time. The apples are tender but not mushy, and the crust holds its shape beautifully.
Simple ingredients you already have. No fancy spices or hard-to-find items—just cinnamon, nutmeg, and a little lemon juice.
Easy to customize. Swap in brown sugar for a deeper caramel flavor, or skip the lattice and do a full top crust if you're short on time.
Incredible aroma. Your whole house will smell like a cozy autumn afternoon.
Crowd-pleaser. Whether you're serving it for Thanksgiving or a Sunday dinner, this Apple Pie never disappoints. Pair it with my Red Velvet Brownies for a dessert spread that'll have everyone asking for seconds.
Jump to:
Apple Pie Ingredients
Here's everything you need to make this warm, comforting dessert from scratch.
See Recipe Card Below This Post For ingtedient Quantites
For the Crust:
- Homemade Pie Crust or All Butter Pie Crust: You'll need one batch that makes 2 crusts—one for the bottom and one for the lattice top. A buttery, flaky crust is the foundation of a great pie.
For the Filling:
- Apple slices: Granny Smith or Honeycrisp work beautifully here. They hold their shape and bring the right balance of tart and sweet.
- Granulated sugar: use packed brown sugar for a richer, molasses-like flavor.
- All-purpose flour: spooned and leveled. This thickens the filling so it's not runny when you slice the pie.
- Lemon juice: Brightens the flavor and keeps the apples from browning too quickly.
- Ground cinnamon: The warm, cozy spice that makes apple pie taste like home.
- Ground allspice: Adds a subtle depth and warmth.
- Ground nutmeg: A hint of nuttiness that rounds out the spice blend.
For the Egg Wash:
- Egg and milk: This gives the crust a glossy, golden finish.
Optional:
- Coarse sugar: For sprinkling on top before baking. It adds a little sparkle and crunch.
How to Make Apple Pie
Let's walk through each step so your pie turns out perfect.
Prepare the pie crust: Make your pie crust recipe through step 5, and let the dough chill in the fridge for at least 2 hours. Cold dough is easier to roll and gives you that flaky texture.
Roll out the dough: On a lightly floured surface, roll one disc of chilled dough into a 12-inch circle. Gently drape it into a 9-inch pie dish that's about 1.5 to 2 inches deep. Press it into the corners with your fingers and trim any overhang. Pop the pie shell back in the fridge while you make the filling.
Make the apple filling: In a large bowl, toss together the apple slices, sugar, flour, lemon juice, cinnamon, allspice, and nutmeg. Mix well so every slice gets coated with the spices.
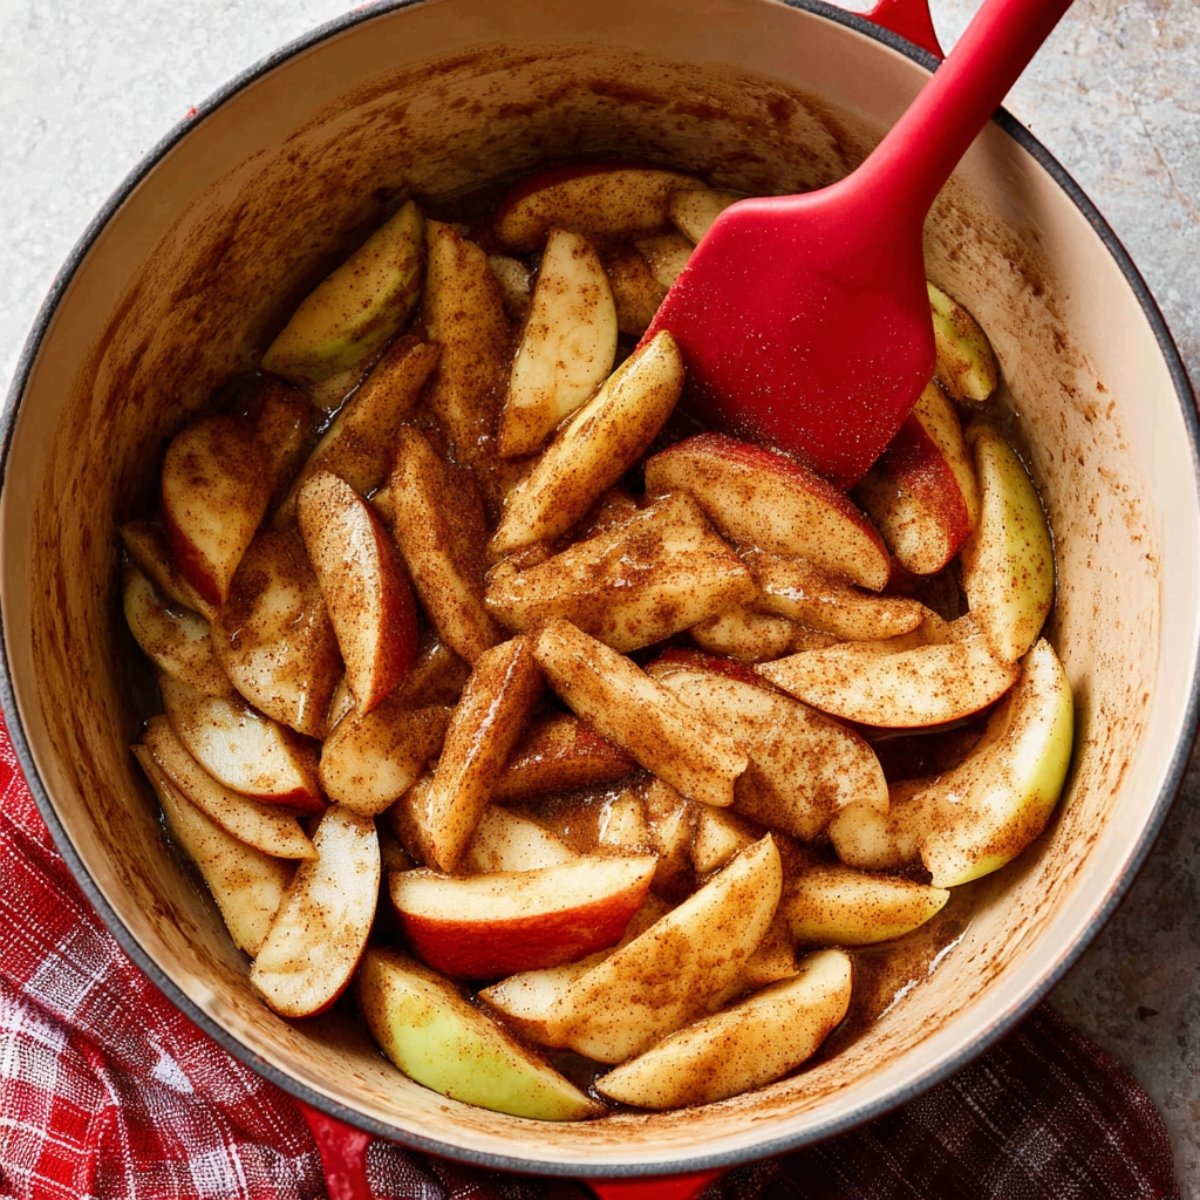
Optional pre-cook the filling: Transfer the apple mixture to a large skillet or Dutch oven. Cook over medium heat for about 5 minutes, stirring gently, until the apples just start to soften. This step isn't required, but it helps the filling hold together and deepens the flavor.
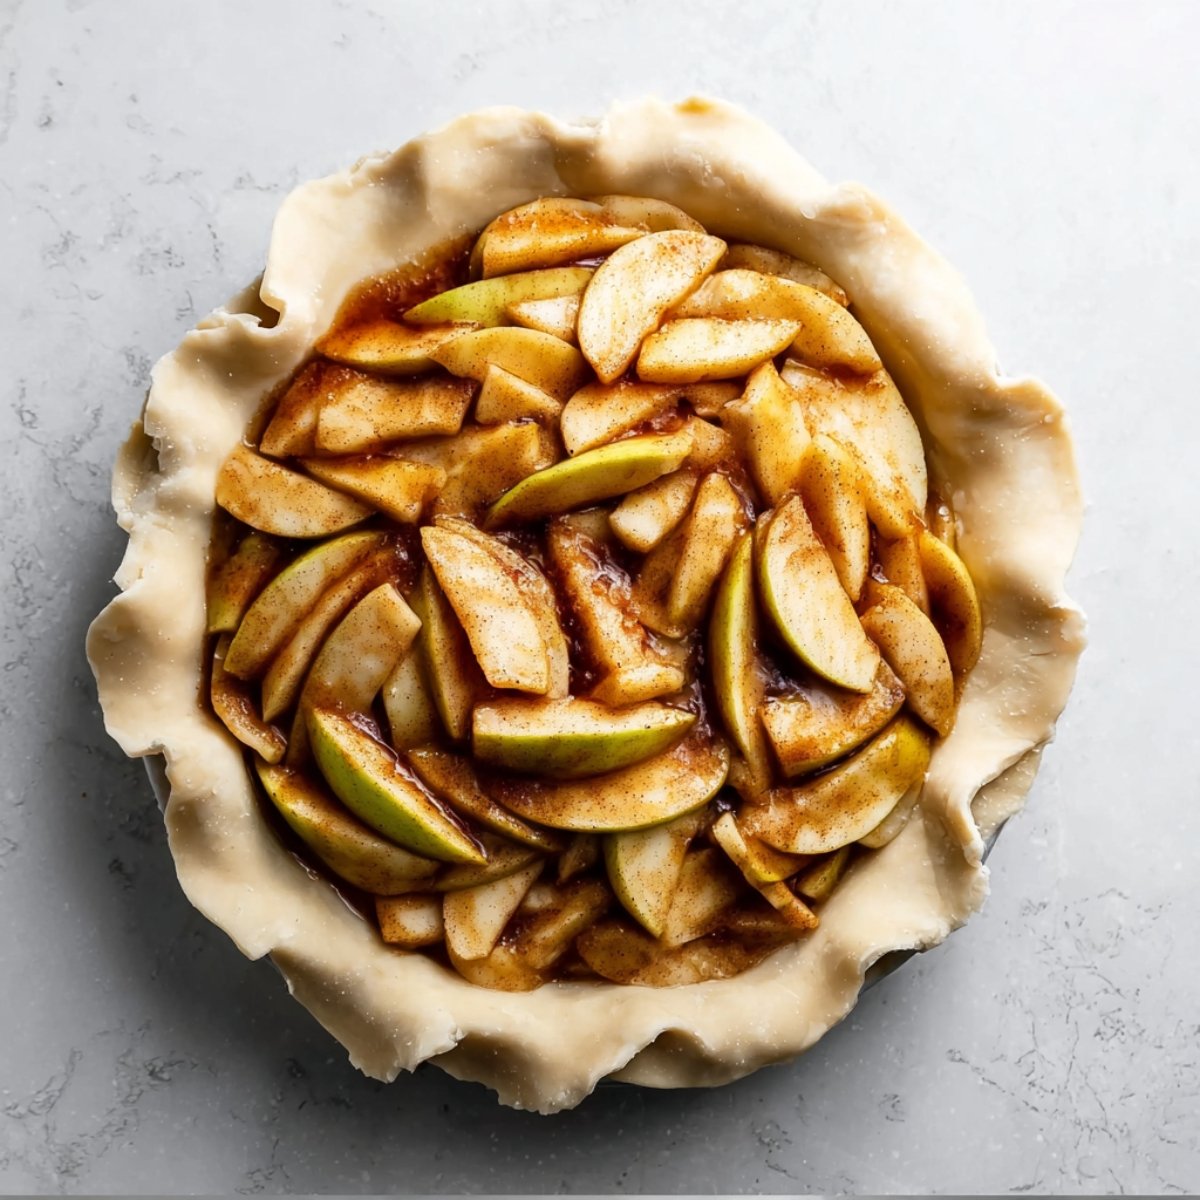
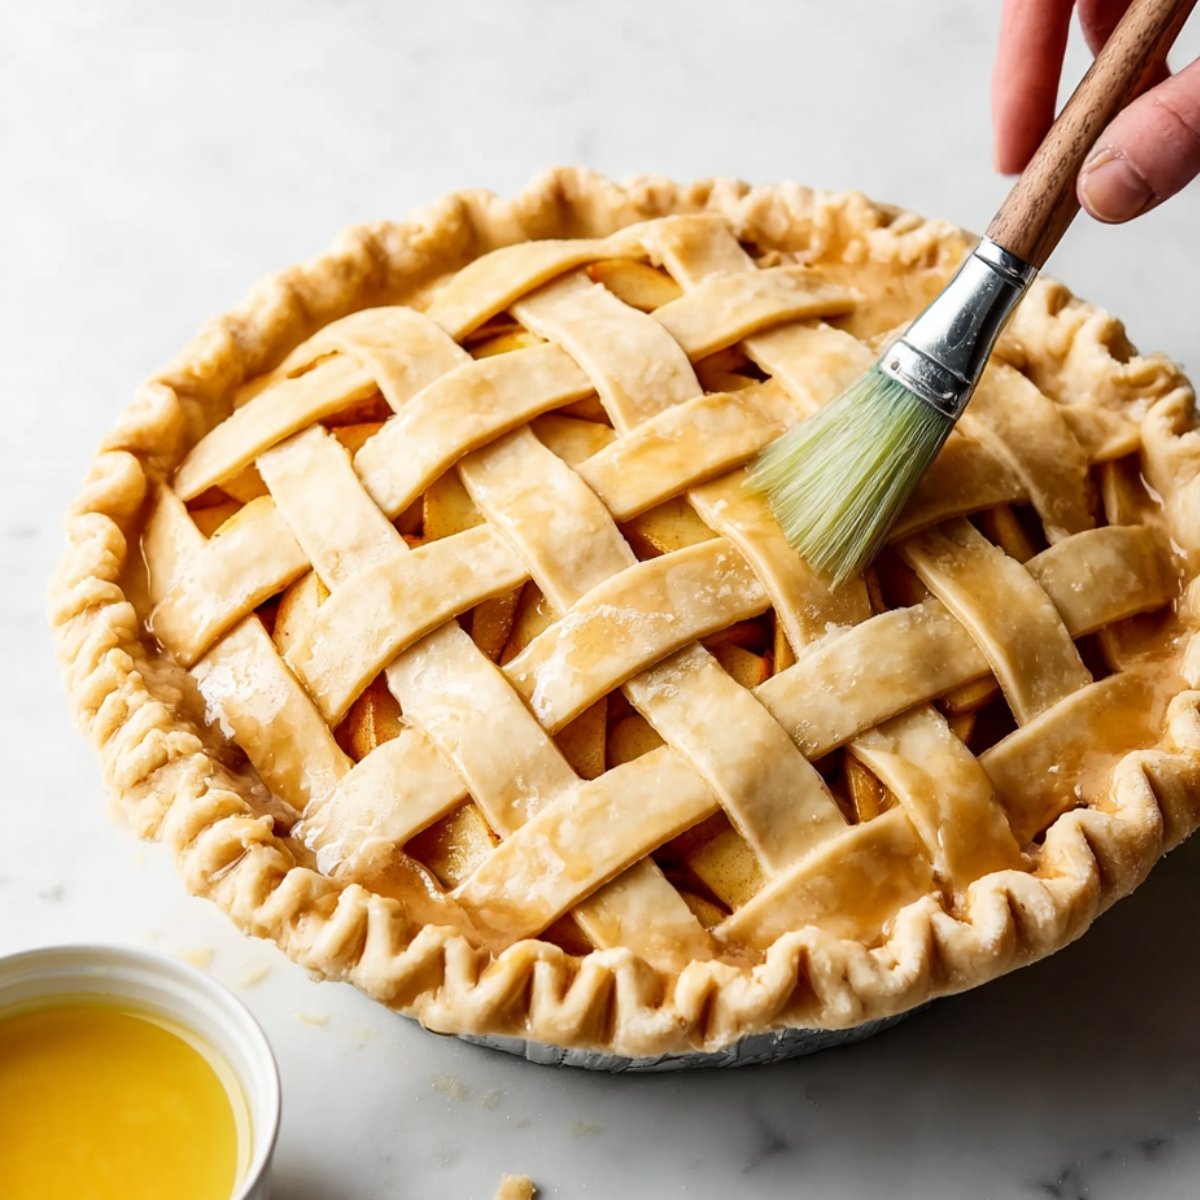
Assemble the pie: Preheat your oven to 400°F (204°C). Spoon the apple filling into your chilled pie shell, piling it high—it may look like too much, but the apples will cook down. Roll out the second disc of dough into a 12-inch circle. Use a sharp knife or pizza cutter to slice it into 1-inch-wide strips. Weave the strips over and under to create a lattice pattern on top. Trim any extra dough and pinch the edges to seal everything together.
Apply egg wash: Brush the lattice with the beaten egg and milk mixture. If you're using coarse sugar, sprinkle it on now for extra sparkle.
Bake the pie: Place the pie on the middle oven rack and bake for 25 minutes. Then lower the temperature to 375°F (190°C) and bake for another 35 to 45 minutes, until the crust is golden brown and you see bubbles around the edges.
Cool before serving: Take the pie out of the oven and let it cool on a rack for at least 3 hours. I know it's hard to wait, but this gives the filling time to set so you get clean slices instead of a puddle of apples.
Substitutions and Variations
Different apples: Try mixing varieties like Granny Smith, Honeycrisp, and Fuji for more complex flavor.
Sweetener swap: Use all brown sugar instead of granulated for a deeper caramel taste.
Gluten-free crust: Swap in your favorite gluten-free Apple Pie crust recipe.
Spice it up: Add a pinch of cardamom or ginger for a little extra warmth.
No lattice? No problem: Use a full top crust and cut a few slits for steam to escape.
Equipment For Apple Pie
9-inch pie dish: Make sure it's at least 1.5 to 2 inches deep to hold all those apples.
Rolling pin: For getting the dough nice and thin.
Sharp knife or pizza cutter: Essential for cutting clean lattice strips.
Pastry brush: To apply the egg wash evenly.
Baking sheet: Place it under the pie to catch any drips.
Pie crust shield (optional): Protects the edges from browning too fast.
Cooling rack: Lets air circulate under the pie while it cools.
Instant-read thermometer (optional): If you want to check that the filling has reached the right temperature.
How to Store Your Apple Pie
Room temperature: Cover loosely with foil and keep on the counter for up to 2 days.
Refrigerator: Wrap the pie tightly and refrigerate for up to 5 days. The crust may soften a bit, but the flavor stays great.
Freezer: Wrap the cooled pie in plastic wrap, then aluminum foil. Freeze for up to 3 months. Thaw in the fridge overnight and reheat slices in a 350°F oven for 10 minutes.
Reheating tip: Warm individual slices in the oven or microwave. A little heat brings back that fresh-baked texture.
Serving Suggestions
With vanilla ice cream: The classic pairing. The cold, creamy ice cream melts into the warm pie and it's pure comfort.
Whipped cream: A dollop of fresh whipped cream adds a light, airy contrast to the rich filling.
Drizzle of caramel sauce: For an extra indulgent touch, drizzle warm caramel over each slice.
Alongside coffee or tea: A slice of apple pie and a hot mug make the perfect afternoon treat. Serve it with Best Oreo Dirt Cake Recipe if you're hosting a fall gathering.
Expert Tips
Keep everything cold: Cold butter and cold dough make the flakiest crust. Work quickly and chill the dough if it starts to warm up.
Don't skip the pre-cook: Those 5 minutes on the stovetop help the apples release moisture and soften just enough. It's a game changer.
Pile the apples high: They'll cook down, so don't be shy about mounding them in the pie shell.
Watch the edges: If the crust starts to brown too fast, cover the edges with foil or use a Apple Pie shield.
Let it cool completely: I know it's tempting to dig in right away, but the filling needs time to set. Trust me on this one.
Use a mix of apples: Combining tart and sweet varieties adds more depth to the flavor.
FAQ
Should you cook apples before putting them in a pie?
You don't have to, but cooking them for about 5 minutes helps them soften and release moisture. This makes the filling set better and taste richer. My mom always did this, and now I do too.
What's the secret to a good apple pie?
Cold dough, a mix of spices, and patience. Let the Apple Pie cool completely so the filling sets. Also, don't be afraid to pile the apples high—they shrink as they bake.
What is the secret ingredient in apple pie?
A little lemon juice. It brightens the flavor and keeps the apples from turning brown. Some bakers also swear by a tiny pinch of salt to balance the sweetness.
What are common apple pie mistakes?
Using apples that are too soft, not letting the pie cool long enough, and overbaking the crust. Also, skipping the egg wash means you'll miss out on that beautiful golden color. If you're looking for more easy dessert wins, try my Easy Churro Cheesecake—it's foolproof and always a hit.
Related
Looking for other recipes like this? Try these:


Pairing
These are my favorite dishes to serve with Apple Pie


Apple Pie
Ingredients
Equipment
Method
- Prepare your preferred pie crust recipe up to step 5. The dough needs to chill for at least 2 hours before rolling out.
- On a lightly floured surface, roll out one disk of chilled dough until it’s about 12 inches in diameter. Carefully transfer it to a 9-inch pie dish. Tuck the dough edges in and smooth the surface. Place the dish back in the fridge while you prepare the filling.
- In a large mixing bowl, combine the apple slices, sugar, flour, lemon juice, cinnamon, allspice, and nutmeg. Stir well until evenly mixed.
- (Optional step) Transfer the apple mixture to a large skillet or Dutch oven. Heat over medium heat, stirring occasionally, until apples begin to soften, about 5 minutes. Remove from heat and let it cool slightly.
- Preheat your oven to 400°F (204°C).
- Spoon the apple filling into the prepared pie crust. It's okay if the filling is still warm. Pile the apples high and tight together.
- Roll out the second disk of dough to a 12-inch circle. Using a sharp knife or pizza cutter, cut it into strips. Arrange the strips over the pie in a lattice pattern, weaving them over and under. Trim any excess dough, then fold the edges back and pinch to seal. crimp the edges as desired.
- Brush the top crust with the prepared egg wash, then sprinkle with coarse sugar, if desired. Optional: Chill the pie in the fridge for 20–30 minutes to set the lattice shape.
- Bake the pie on the center rack for 25 minutes, then reduce the oven temperature to 375°F (190°C). Continue baking for 35–45 more minutes until the crust is golden brown and the filling bubbles. Optionally, use a pie crust shield to protect the edges from over-browning.
- Remove the pie from the oven and let it cool on a wire rack for at least 3 hours before slicing. This allows the filling to set.


Leave a Reply